

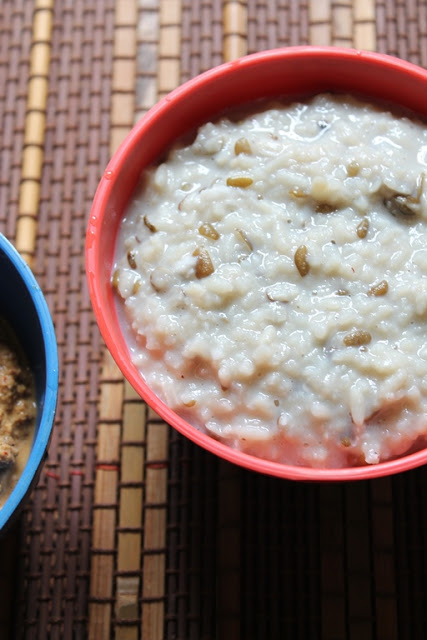
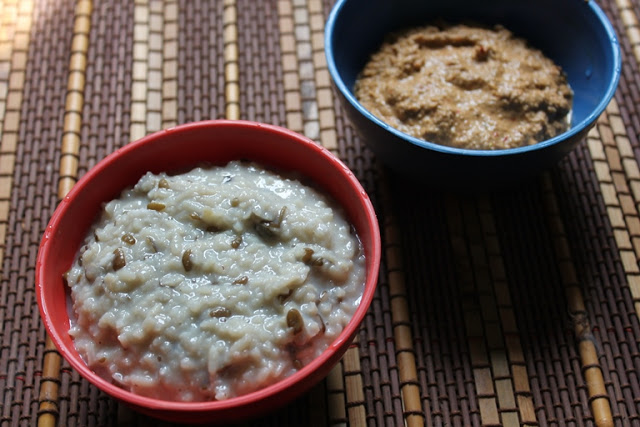
This recipe is for Ulundhu Kanji, which is basically a warm, comforting porridge made using urad dal (split black gram with skin) and rice. It’s a traditional South Indian dish, really simple yet packed with flavor and nutrition. Along with the kanji, there’s a spicy, tangy coconut chutney called Thengai Kothamalli Thogayal that perfectly complements the porridge. This meal is not only delicious but also incredibly nourishing, making it a favorite for breakfast or anytime you want something light yet satisfying. Its wholesome ingredients help boost immunity and aid digestion, making it a go-to comfort food in many homes.

Ulundhu Kanji Recipe (Urad Dal porridge recipe)
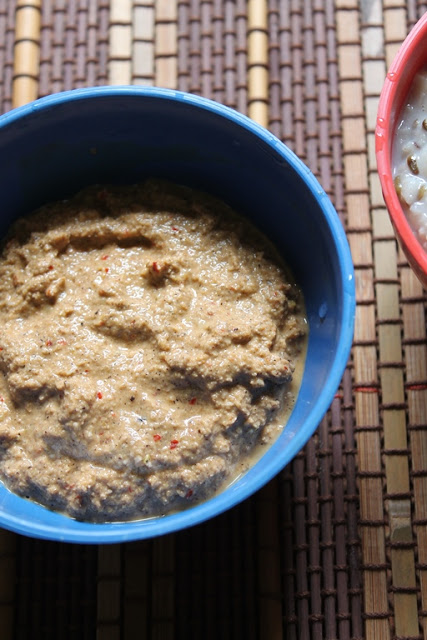
This is one of my favorite combo meals. Amma makes this thogayal whenever she makes this kanji. The spicyness, nuttyness and tangyness go well with the plain little sweeter tasting kanji. I have already posted a combo kanji recipe, check out this milk kanji with green gram thoran.
Jump to:
Porridge are very healthy for you, since they don’t have any oil in it and it normally made with rice and some kind of dals, it taste heavenly and it is really good for you. I have posted a version of this kanji which is made with wheat. You can check out my wheat dal kanji too.
About Urad Dal Porridge
Ulundhu Kanji is a classic, hearty porridge often enjoyed in Tamil households, especially during colder months or when someone is feeling under the weather. It combines rice and urad dal, cooked together with garlic and fenugreek seeds, then flavored with dry ginger powder and coconut. The addition of boiled milk makes it rich and creamy, balancing the subtle sweetness of the porridge.
What makes this recipe special is how the textures and flavors come together. The soft, mildly sweet kanji paired with the spicy, nutty chutney creates a perfect harmony. Traditionally, my Amma makes this often, and she always pairs it with her special thogayal. It’s a meal that feels like a warm hug, simple, wholesome, and satisfying.
Also, porridge like this is super healthy since it doesn’t use oil and is loaded with protein and fiber from the dal and rice. The garlic and fenugreek add both flavor and health benefits, while the chutney gives a punch of tanginess and spice, making the whole meal exciting and nourishing.
Similar Recipes
Bajra Porridge
Kavuni kanji
Ramzan Nombu Kanji
Why This Recipe Works
The magic of Ulundhu Kanji lies in the balance of textures and flavors. Cooking the rice and urad dal together until soft creates a smooth porridge that’s not too thick or watery. The garlic and fenugreek add a subtle, warm flavor that’s soothing without being overpowering. Adding dry ginger powder brings a mild spice and warmth, which is perfect especially in cooler weather or when you’re feeling under the weather.
Why I Love This Recipe – This recipe holds a special place in my heart because it reminds me of home and my Amma’s cooking. She would often prepare this kanji on rainy days or when someone was feeling a little tired or sick. The aroma of garlic and spices filling the kitchen always made me feel comforted and cared for. Growing up, this was a meal that brought the family together in simple moments eating warm porridge and tangy chutney while chatting and relaxing. It’s light but fulfilling, and I love that it doesn’t feel heavy like some other comfort foods. My family still requests this whenever someone needs a gentle, nourishing meal.
The grated coconut adds a fresh, slightly sweet note and a bit of texture, while the boiled milk enriches the dish, giving it creaminess without needing butter or cream. The chutney, with its tangy tamarind and toasted spices, brings in a spicy contrast that makes every spoonful interesting. The interplay between the mildly sweet, savory kanji and the flavorful thogayal is what makes this combo so beloved.
Ingredients
Ingredients for Kanji
Rice (1 cup) – This is the main grain used in kanji. When cooked slowly, it turns soft and slightly mushy, making the base thick and comforting. It’s light on the stomach and gives the porridge its simple, filling character.
Split Black Urad Dal with skins (½ cup) – This dal not only makes the kanji more nutritious but also adds a slightly creamy and earthy flavor. The skin gives a subtle texture and boosts fiber and iron.
Garlic (10 cloves) – Garlic adds both flavor and health benefits. It has a lovely aroma when cooked and adds a mild pungency that works beautifully with the creamy base. Plus, it’s great for digestion.
Fenugreek Seeds (1 tsp) – These little seeds may be tiny, but they pack in a lot of flavor. They give a faint bitterness that balances the mild sweetness of the coconut and milk, and they’re known to help with gut health.
Dry Ginger Powder / Chukku Podi (1 tsp) – This powder adds a very gentle spice and warmth. It’s especially good for boosting digestion and giving a traditional touch to the porridge.
Grated Coconut (½ cup) – Fresh coconut brings a little sweetness and texture to the kanji. It adds richness without being heavy and tastes amazing when mixed with warm rice and dal.
Boiled Milk (500 ml) – This is added at the end to make the porridge creamy and smooth. The milk tones down the strong flavors and makes the dish more comforting and wholesome.
Ingredients for Thogayal / Chutney
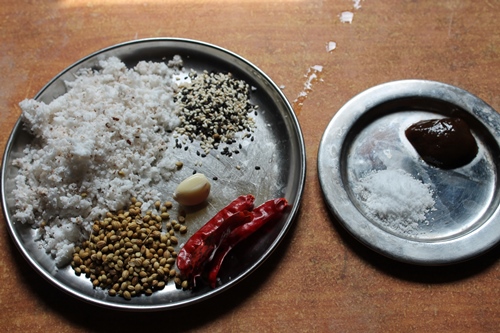
Coconut (¾ cup) – This is the main ingredient here. When toasted, it brings out a nutty, sweet flavor that blends well with the other spices. It gives the chutney body and texture.
Coriander Seeds (2 tbsp) – These seeds are dry-roasted to bring out their warm and citrusy flavor. They give the chutney a beautiful earthy note and depth that makes it stand out.
Sesame Seeds (1 tbsp) – These little seeds add nuttiness and a hint of richness. Toasting them really enhances their flavor, making the chutney more layered.
Garlic (1 fat clove) – Just one big clove is enough to give a sharp, savory punch. It blends beautifully with the coconut and tamarind, bringing a little zing to each spoonful.
Dry Red Chillies (3) – These are the source of heat. They’re not overly spicy, but just enough to balance the richness of the coconut and give the chutney some color and kick.
Oil (1 tbsp) – Used for roasting all the chutney ingredients. It helps release the natural oils and aromas of the spices and gives the chutney a toasted depth.
Tamarind Pulp (1 tbsp) – Adds that sharp tangy flavor which cuts through the richness and rounds off the chutney perfectly. It’s what gives the chutney that lip-smacking balance of sour and spice.
Salt (to taste) – A small amount of salt is enough to bring all the flavors together and make the chutney pop.
Hacks
To save some time, it really helps to soak the rice and urad dal for about 30 minutes before you start cooking. This soaking softens them up a bit, so they cook faster and more evenly, giving you a smoother kanji. If you prefer your kanji a bit creamier, you can add a little extra boiled milk while cooking, or if you want to try something different, coconut milk works beautifully too and adds a nice subtle flavor.
Making the chutney ahead of time and keeping it in the fridge is a great way to make this meal quick and easy whenever you want. When you’re ready, just warm up the kanji and serve it with the premade chutney. Also, if you have a rice cooker, this recipe becomes super simple just put everything in and let the cooker do the hard work. For a little twist, try roasting the fenugreek seeds lightly before adding them to the kanji. It gives the dish a lovely nutty aroma that makes it even more comforting.
Urad Dal Porridge (Step by Step Pictures)
|
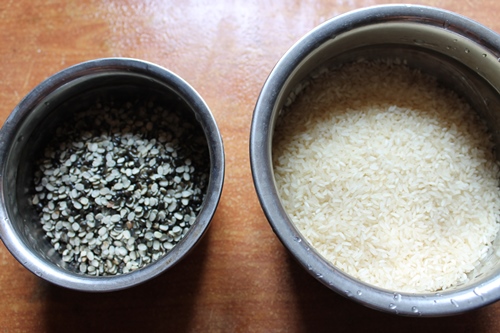
| Start with porridge..Measure rice and dal |
 |
| Wash them well |
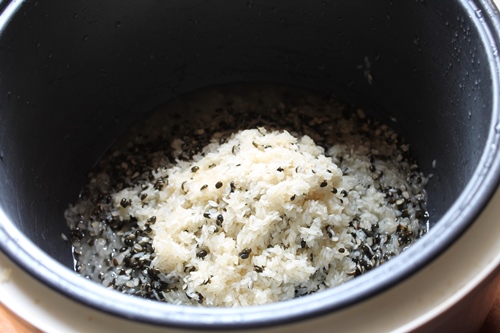 |
| Add that to pressure cooker or rice cooker |
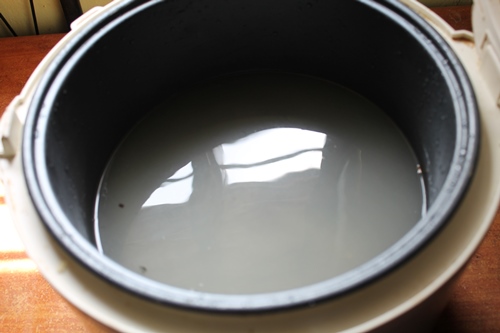 |
| Add water |
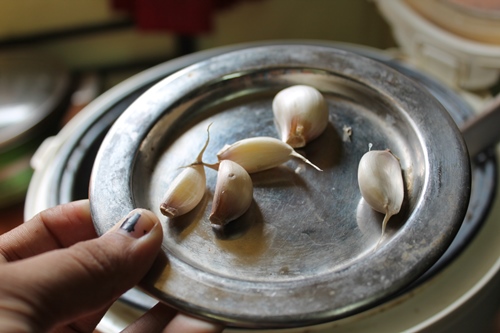 |
| garlic cloves…Amma adds garlic with skins on, You should add some fenugreek seeds at this point. I forgot to take picture of it.. |
 |
| Cover and cook |
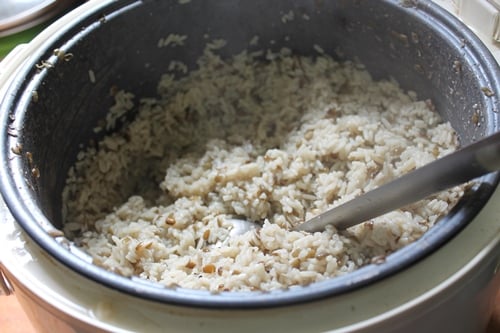 |
| When it is done, open the cooker |
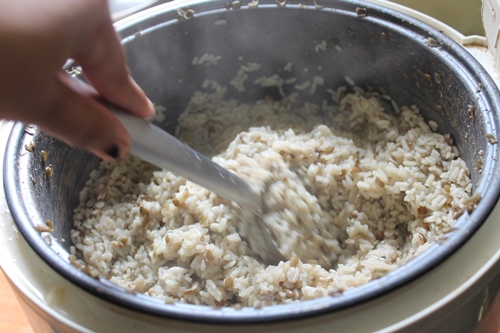 |
| Mix well using the ladle to break some rice and dal |
|
|
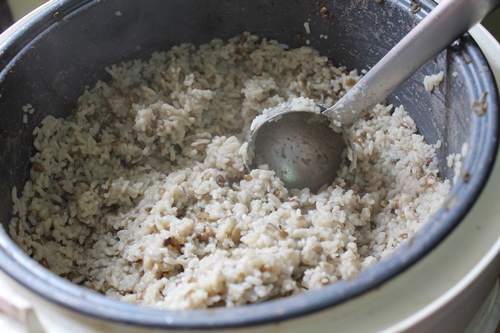
| Once it has become to your desired consistency |
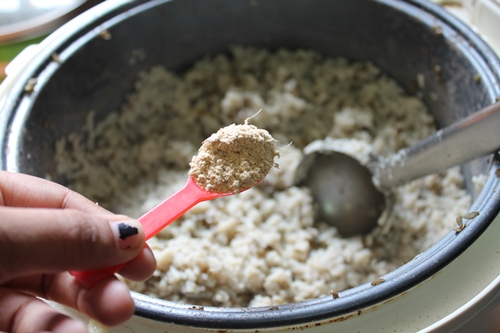 |
| Add dry ginger powder |
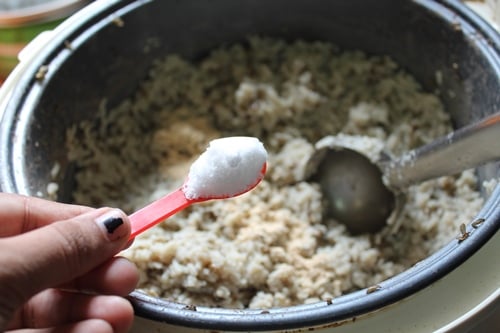 |
| Add salt |
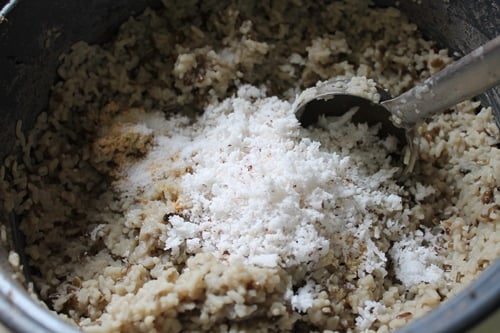 |
| some finely grated coconut |
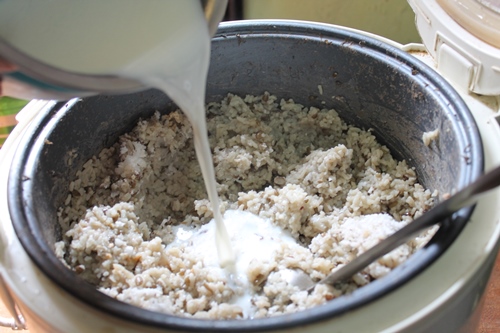 |
| Pour in boiled milk |
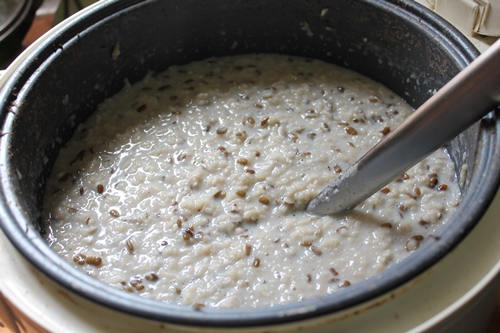 |
| Mix well and let it simmer for 5 mins. |
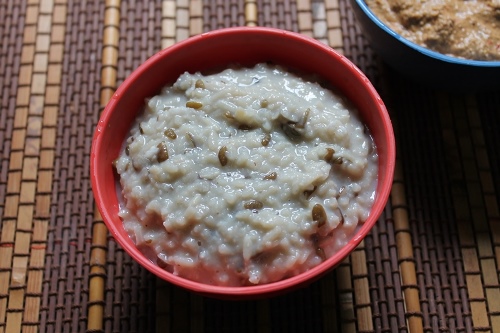 |
| Kanji done |
Thogayal Recipe
|
| Now take your ingredients for thogayal |
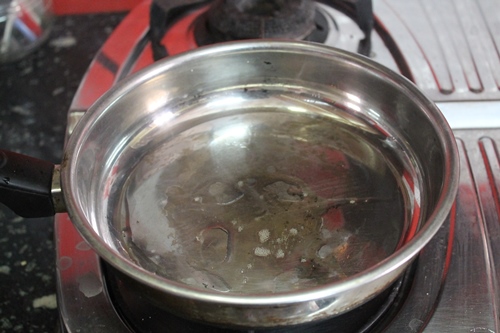 |
| Heat oil in a pan |
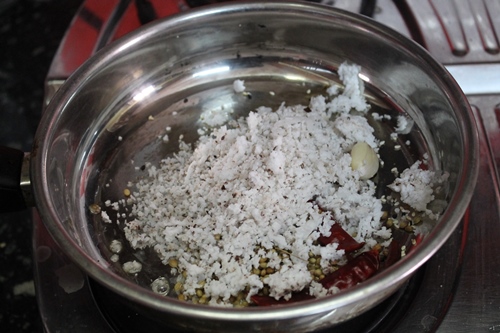
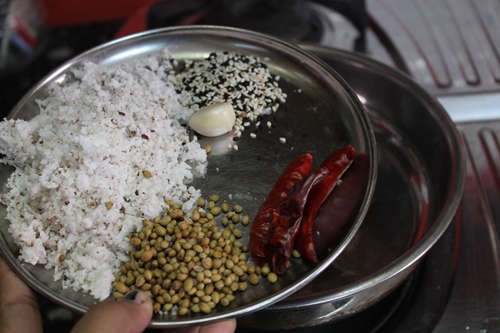 |
| Add in coriander seeds, dry chilli, sesame seeds, garlic and coconut |
 |
| Now fry them |
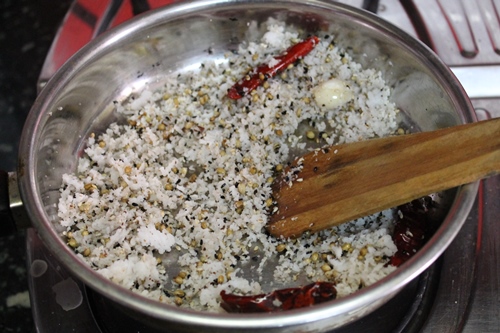 |
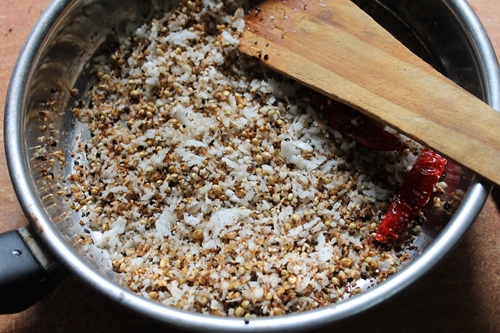
| Cook on low heat till it is nicely toasted |
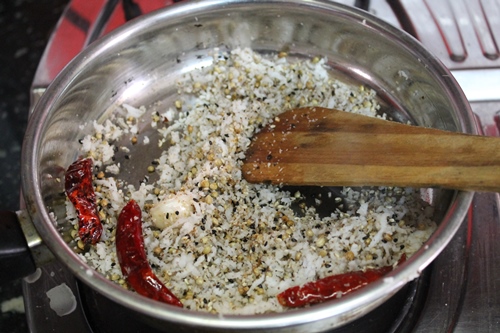 |
| I cook them till the moisture from coconut dries up.. |
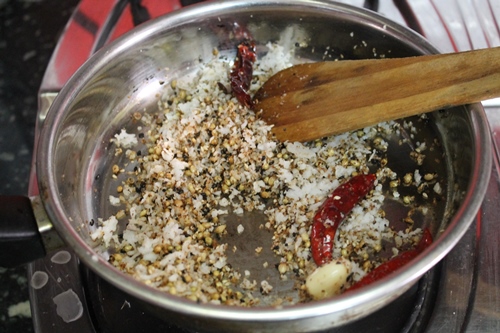 |
| When it has turned light golden |
 |
| Allow it to cool down |
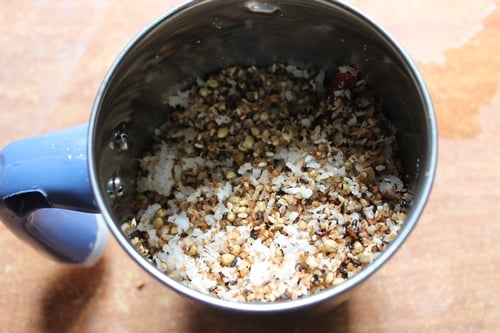 |
| Take them in blender |
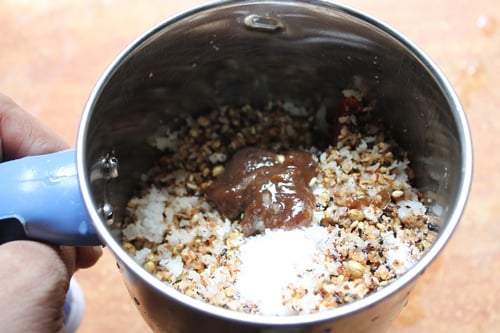 |
| Add salt and tamarind, add water and grind it to a smooth chutney |
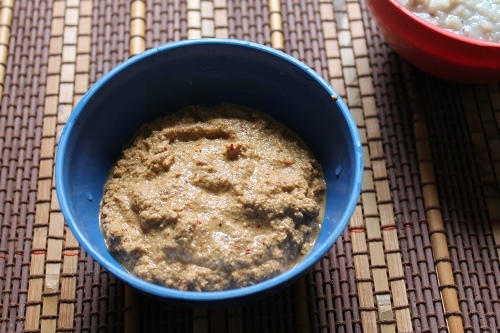 |
| Thogayal Done |
Expert Tips
Always let the pressure cooker release steam naturally – Resist the temptation to force open the cooker right away. Letting the steam settle naturally helps the rice and urad dal finish cooking in their own heat. This ensures the porridge turns out soft, well-blended, and creamy without any uneven bits.
Use freshly grated coconut for both kanji and chutney – While frozen coconut works in a pinch, nothing beats the fresh version. It adds a sweet, clean flavor to the porridge and gives the chutney a more vibrant, rich texture. If you’re using frozen coconut, just make sure to thaw and toast it well.
Adjust garlic and spice levels based on your taste – Some people love the strong flavor of garlic in kanji, while others prefer it milder. Same goes with the red chillies in the chutney. You can always tweak the amount to suit your preference or your family’s spice tolerance.
Leftover kanji stores well and can be reused – If you have extra kanji, don’t worry! Just store it in the fridge. When you’re ready to eat, gently reheat it on the stove with a splash of milk or even hot water to loosen it up. It makes a quick, comforting meal the next day too.
Keep chutney in the fridge in an airtight container – The thogayal stays good for up to 3 days if stored properly. It’s handy to make a little extra and keep it for later – just scoop out the portion you need and bring it to room temperature before serving for best taste.
Serving suggestion:
Serve the warm kanji in deep bowls with a generous spoon of chutney on the side. Some like to mix the chutney into the porridge itself, while others enjoy alternating bites. It pairs beautifully with a dollop of ghee too, if you’re feeling indulgent!
FAQ
Q: Can I use regular urad dal without the skins for this recipe?
A: Yes, you can use regular split urad dal without the skin if that’s what you have at home. However, the version with the skins has a slightly nuttier flavor and gives a better texture to the kanji. It also adds more fiber and nutrition. So if you’re aiming for a more traditional and wholesome version, the skinned urad dal is definitely worth using.
Q: Is it possible to make this recipe vegan?
A: Absolutely! The only non-vegan ingredient in this recipe is the boiled milk that’s added at the end. You can simply skip it or replace it with a plant-based milk like coconut milk or almond milk. Coconut milk in particular works beautifully with the other flavors and gives the porridge a richer taste. Just make sure not to boil coconut milk on high heat add it at the end and let it gently warm through.
Q: How long can I store the chutney (thogayal)?
A: The thogayal can be stored in the refrigerator in a clean, airtight container for about 3 days. It’s perfect for prepping ahead. When you’re ready to eat it, just take it out a little before mealtime so it comes to room temperature, or you can slightly warm it if you like. The taste is usually even better the next day as the flavors settle.
Q: Can I make the kanji without using a pressure cooker?
A: Yes, you can! If you don’t have a pressure cooker or rice cooker, just use a thick-bottom pot. Add the rice, dal, garlic, and water, and cook it on a low flame. It will take longer maybe around 40 to 50 minutes but keep stirring now and then to prevent sticking. Add more water if needed. The result will still be lovely, warm, and comforting.
Variation
1. For a Toasty, Nuttier Flavor
You can lightly roast the rice and urad dal in a dry pan before cooking. This gives the kanji a deeper, slightly nutty taste and a lovely aroma. It’s a simple trick that brings out more flavor from the ingredients, especially if you enjoy earthy notes in your food.
2. A Mildly Sweet Twist
If you like a hint of sweetness in your porridge, add a little jaggery or sugar after mixing in the milk. Just a spoon or two will do. This balances out the mild bitterness from fenugreek and adds comfort especially nice for kids or on a rainy day when you want something cozy.
3. Lemon Instead of Tamarind
When you’re out of tamarind or want a brighter flavor, you can replace tamarind pulp with lemon juice in the chutney. About 1 tsp of lemon juice added while grinding gives a nice fresh tang. It’s a good quick fix and works well when you’re in a hurry.
4. Add Curry Leaves for Aroma
Try adding curry leaves while toasting the chutney ingredients. It gives a beautiful, South Indian aroma and blends really well with coconut and coriander. The chutney becomes more flavorful with just a handful of these leaves.
More Rice & Porridge Recipes
📖 Recipe Card

Urad Dal Porridge Recipe (Ulundhu Kanji)
Print
Pin
Rate
Servings: 4 servings
Calories: 486kcal
Ingredients
For Thogayal / Chutney (Side Dish for Urad Dal Porridge)
Instructions
-
Pre-prep: First, wash the rice and urad dal well and set them aside.Peel the garlic cloves and measure out the fenugreek seeds, dry ginger powder, and other spices. It helps to have everything ready before you start cooking.
-
Cooking the Kanji: Add the rice, dal, garlic, and fenugreek seeds into a pressure cooker or electric rice cooker with 5 cups of water. If using a pressure cooker, cook it for about 5 whistles, then simmer for 10 minutes before letting the steam release naturally. If using an electric cooker, just cook until it indicates it’s done. Once cooked, stir well to break down the rice and dal to a smooth, porridge-like consistency. Next, mix in the dry ginger powder, salt, and freshly grated coconut, followed by pouring in the boiled milk. Let it simmer for a few minutes until everything is well combined and creamy. The kanji is now ready!
-
Making the Thogayal/Chutney: While the kanji is cooking, heat a tablespoon of oil in a pan and add coconut, coriander seeds, garlic, dry red chillies, and sesame seeds. Toast them gently on low heat until the coconut turns light golden and all the moisture evaporates. After cooling, blend this mixture with tamarind pulp, salt, and a little water until smooth. This chutney adds a spicy, tangy flavor that pairs perfectly with the creamy kanji.
Video

Nutrition
Serving: 1servings | Calories: 486kcal | Carbohydrates: 67g | Protein: 16g | Fat: 18g | Saturated Fat: 13g | Polyunsaturated Fat: 1g | Monounsaturated Fat: 2g | Cholesterol: 15mg | Sodium: 2403mg | Potassium: 452mg | Fiber: 10g | Sugar: 10g | Vitamin A: 220IU | Vitamin C: 6mg | Calcium: 258mg | Iron: 4mg
Share by Email
Share on Facebook
If you have any questions not covered in this post and if you need help, leave me a comment or mail me @[email protected] and I’ll help as soon as I can.
Follow me on Instagram, Facebook,Pinterest ,Youtube and Twitter for more Yummy Tummy inspiration.
IF YOU MAKE THIS RECIPE OR ANYTHING FROM YUMMY TUMMY, MAKE SURE TO POST IT AND TAG ME SO I CAN SEE ALL OF YOUR CREATIONS!! #YUMMYTUMMYAARTHI AND @YUMMYTUMMYAARTHI ON INSTAGRAM!
More Rice Recipes
–>
About Aarthi
Reader Interactions